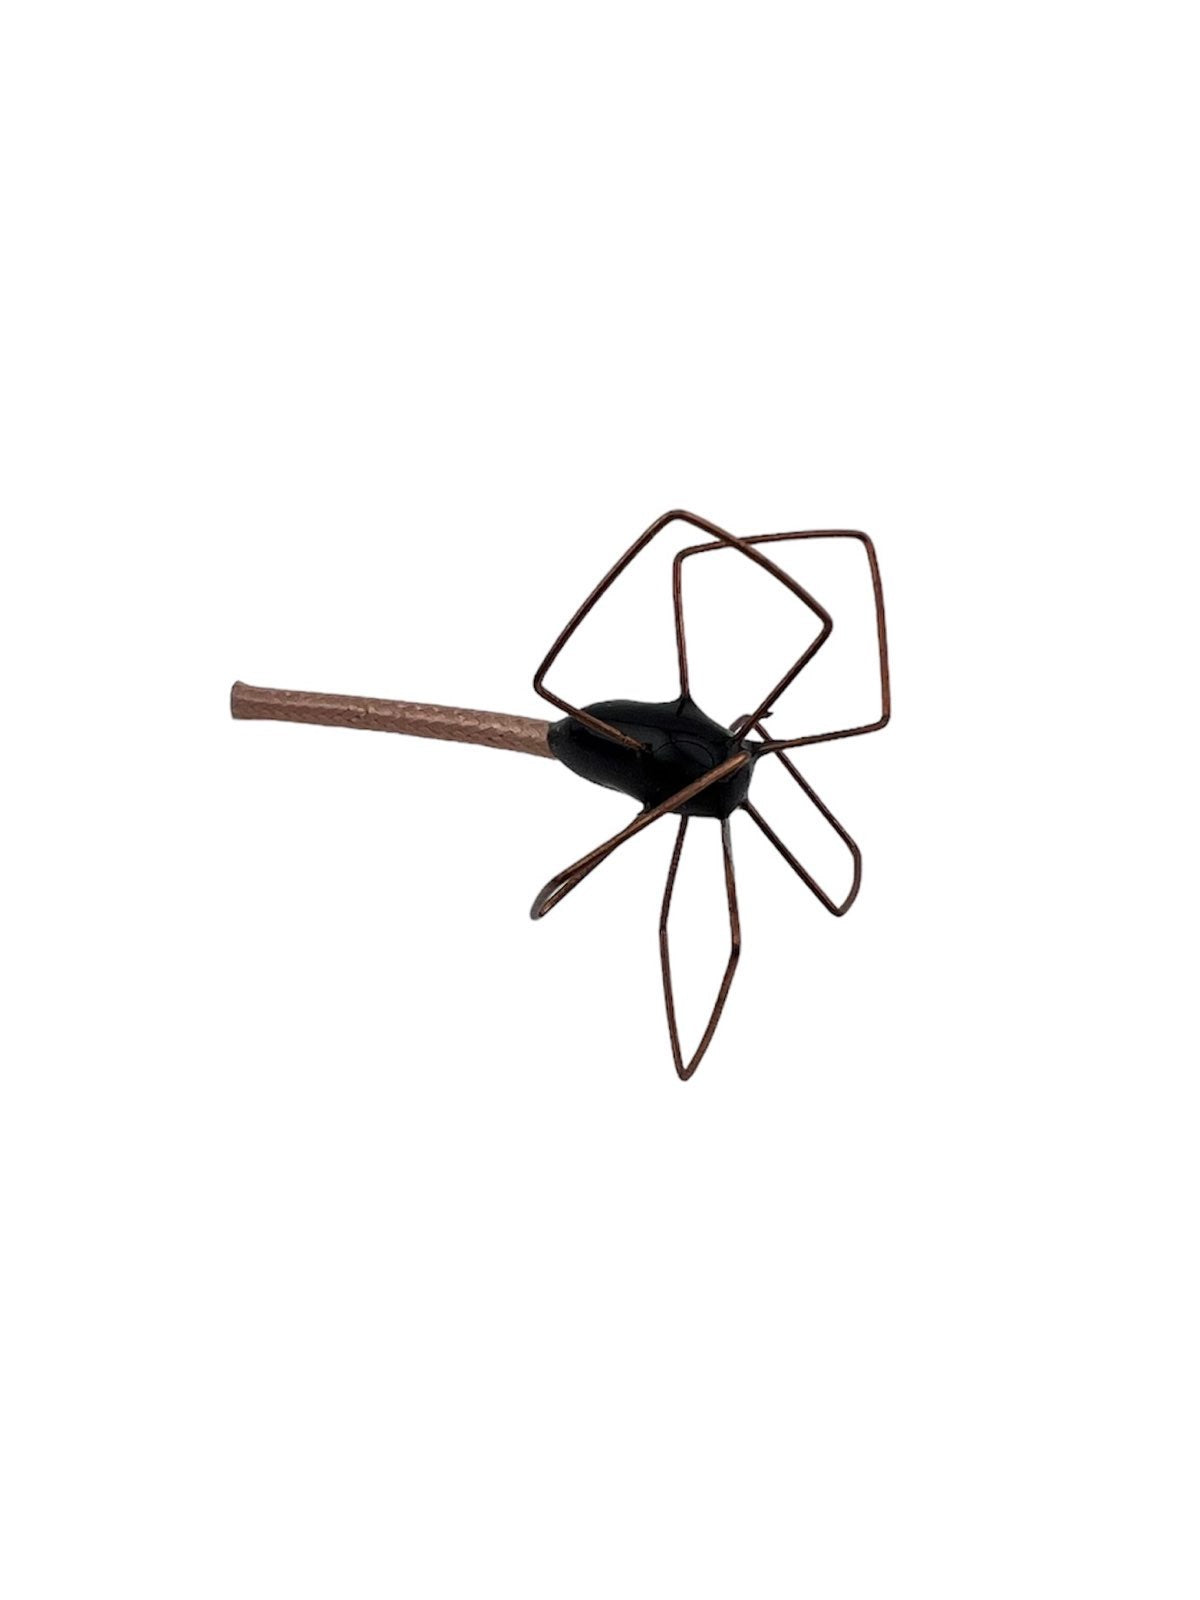
The Left-hand Circular Polarized Airblade antenna by Video Aerial Systems for the Tiny Whoop!
This version is lighter than the regular VAS Left-Hand Airblade Antenna Upgrade because they didn't coat each lobe of the antenna.
The Airblade has 5 lobes instead of 3 - making it a touch heavier but with a much higher axial ratio and a higher gain. For those willing take on the added weight of 2 antenna lobes, the reward will be the best video signal a Tiny Whoop can transmit.
Video Aerial Systems has by far the highest quality control in the market, and tests each antenna individually. These antennas are made of bent wire, as opposed to the stamped metal antennas that come with most Tiny Whoop antennas. They are slightly larger than the stock antennas to make them a true 5.8GHz antenna, and they are considerably more durable - normal crashes will no longer break the lobe where it meets the mast.
When I modded my cam to use this antenna I added 0.766g overall. With upgraded motors, this is an excellent option for those dedicated to making Tiny Whoop videos, those flying in difficult RF environments, and for those looking for the clearest picture for the most immersive Tiny Whoop experience.
Modifying the antenna is pretty easy.
Here's how:

First, de-solder the current antenna from the vtx. Take a look at how it's held on in three places - there are two outside connections which are the ground (soldered to the same pad on either side) and there is a single lower connection.
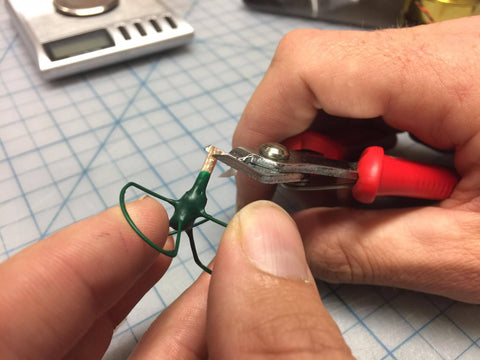
Now we'll make the upgrade antenna look like that. First cut your antenna about this short. If you want a little room to make mistakes, go a couple millimeters longer.
Gently remove the outermost translucent material to expose the woven ground wire.

Once the outermost translucent layer is removed, slowley pull apart the woven ground wire and twist it into the two outside connections. As you'll see these will need to be a bit shorter than the central wire. Remove a bit of the white insulation between the core wire and the woven ground wire so that it looks like this.

Now just solder the central wire to the lower pad and the two ground twists to the ground pad. Easy as pie!! Just make sure they're not touching in any place and you should be good.

